Request/Reply
6 Minute Read
This tutorial outlines both roles in the request-response message exchange pattern. It will show you how to act as the client by creating a request, sending it and waiting for the response. It will also show you how to act as the server by receiving incoming requests, creating a reply and sending it back to the client. It builds on the basic concepts introduced in publish/subscribe tutorial.
Assumptions
This tutorial assumes the following:
-
You are familiar with Solace core concepts.
-
You have access to Solace messaging with the following configuration details:
- Connectivity information for a Solace message-VPN
- Enabled client username and password
One simple way to get access to Solace messaging quickly is to create a messaging service in Solace Cloud as outlined here. You can find other ways to get access to Solace messaging below.
The build instructions in this tutorial assume you are using a Linux shell. If your environment differs, adapt the instructions.
Goals
The goal of this tutorial is to understand the following:
- On the requestor side:
- How to create a request
- How to receive a response
- How to use the Solace API to correlate the request and response
- On the replier side:
- How to detect a request expecting a reply
- How to generate a reply message
Overview
Request-reply messaging is supported by the Solace message router for all delivery modes. For direct messaging, the Solace APIs provide the Requestor object for convenience. This object makes it easy to send a request and wait for the reply message. It is a convenience object that makes use of the API provided “inbox” topic that is automatically created for each Solace client and automatically correlates requests with replies using the message correlation ID. (See Message Correlation below for more details). On the reply side another convenience method enables applications to easily send replies for specific requests. Direct messaging request reply is the delivery mode that is illustrated in this sample.
It is also possible to use guaranteed messaging for request reply scenarios. In this case the replier can listen on a queue for incoming requests and the requestor can use a temporary endpoint to attract replies. The requestor and replier must manually correlate the messages. This is explained further in the Solace documentation and shown in the API samples named RRGuaranteedRequestor and RRGuaranteedReplier.
Message Correlation
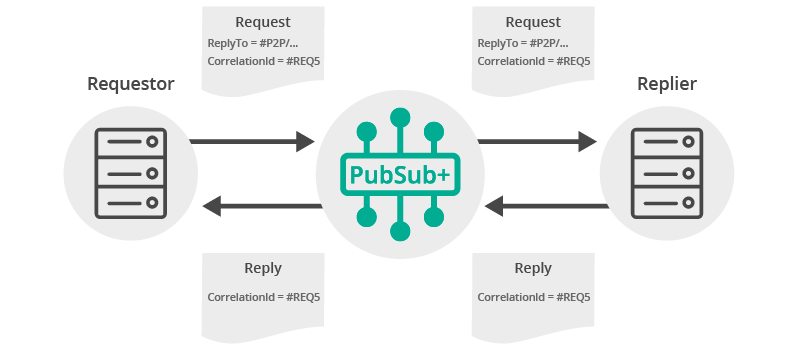
For request-reply messaging to be successful it must be possible for the requestor to correlate the request with the subsequent reply. Solace messages support two fields that are needed to enable request-reply correlation. The reply-to field can be used by the requestor to indicate a Solace Topic or Queue where the reply should be sent. A natural choice for this is often the unique P2PInboxInUse topic which is an auto-generated unique topic per client which is accessible as a session property. The second requirement is to be able to detect the reply message from the stream of incoming messages. This is accomplished using the correlation-id field. This field will transit the Solace messaging system unmodified. Repliers can include the same correlation-id in a reply message to allow the requestor to detect the corresponding reply. The figure below outlines this exchange.
For direct messages however, this is simplified through the use of the Requestor object as shown in this sample.
Get Solace Messaging
This tutorial requires access Solace messaging and requires that you know several connectivity properties about your Solace messaging. Specifically you need to know the following:
| Resources | Value | Description |
|---|---|---|
| Host | String | This is the address clients use when connecting to the Solace messaging to send and receive messages. (Format: DNS_NAME:Port or IP:Port) |
| Message VPN | String | The Solace message router Message VPN that this client should connect to. |
| Client Username | String | The client username. (See Notes below) |
| Client Password | String | The client password. (See Notes below) |
There are several ways you can get access to Solace Messaging and find these required properties.
Option 1: Use Solace Cloud
-
Follow these instructions to quickly spin up a cloud-based Solace messaging service for your applications.
-
The messaging connectivity information is found in the service details in the connectivity tab (shown below). You will need:
- Host:Port (use the SMF URI)
- Message VPN
- Client Username
- Client Password

Option 2: Start a Solace Event Broker Software
-
Follow these instructions to start the Solace Event Broker Software in leading Clouds, Container Platforms or Hypervisors. The tutorials outline where to download and how to install the Solace Event Broker Software.
-
The messaging connectivity information are the following:
-
Host: <public_ip> (IP address assigned to the VMR in tutorial instructions)
-
Message VPN: default
-
Client Username: sampleUser (can be any value)
-
Client Password: samplePassword (can be any value)
Note: By default, the Solace Event Broker Software "default" message VPN has authentication disabled.
-
Option 3: Get access to a Solace Event Broker Appliance
-
Contact your Solace Event Broker Appliance administrators and obtain the following:
- A Solace Message-VPN where you can produce and consume direct and persistent messages
- The host name or IP address of the Solace appliance hosting your Message-VPN
- A username and password to access the Solace appliance
Obtaining the Solace Messaging API
The latest versions of all Solace APIs can be downloaded from the solace downloads page. Otherwise, check the public samples repository of the API where the library is already packaged as a gzipped tar file. Note: always check for the latest API version!
Making a request
First let’s look at the requestor. This is the application that will send the initial request message and wait for the reply.
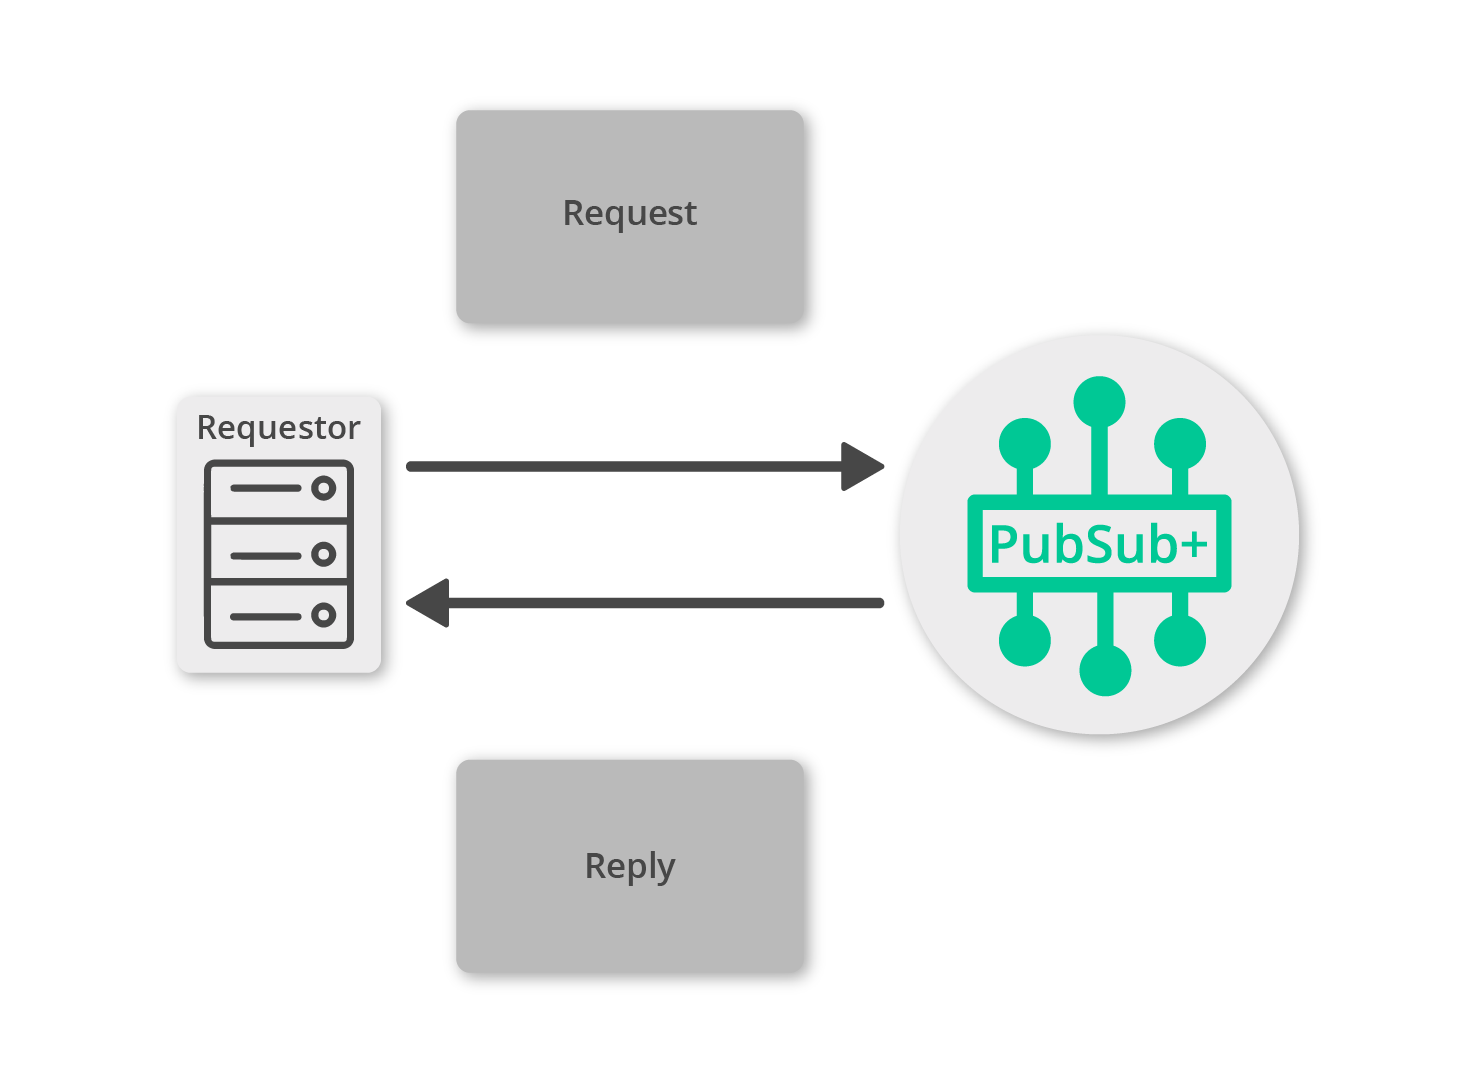
The requestor must create a message and the topic to send the message to:
using (IMessage requestMessage = ContextFactory.Instance.CreateMessage())
    requestMessage.Destination = ContextFactory.Instance.CreateTopic("tutorial/requests");
requestMessage.BinaryAttachment = Encoding.ASCII.GetBytes("Sample Request");
}
Now the request can be sent. This example demonstrates a blocking call where the method will wait for the response message to be received.
IMessage replyMessage = null;
int timeout = 10000; // 10 secs
ReturnCode returnCode = session.SendRequest(requestMessage, out replyMessage, timeout);
If the call request was executed successfully then the returned return code is ReturnCode.SOLCLIENT_OK.
If the timeout is set to zero then the SendRequest call becomes non-blocking and it returns immediately.
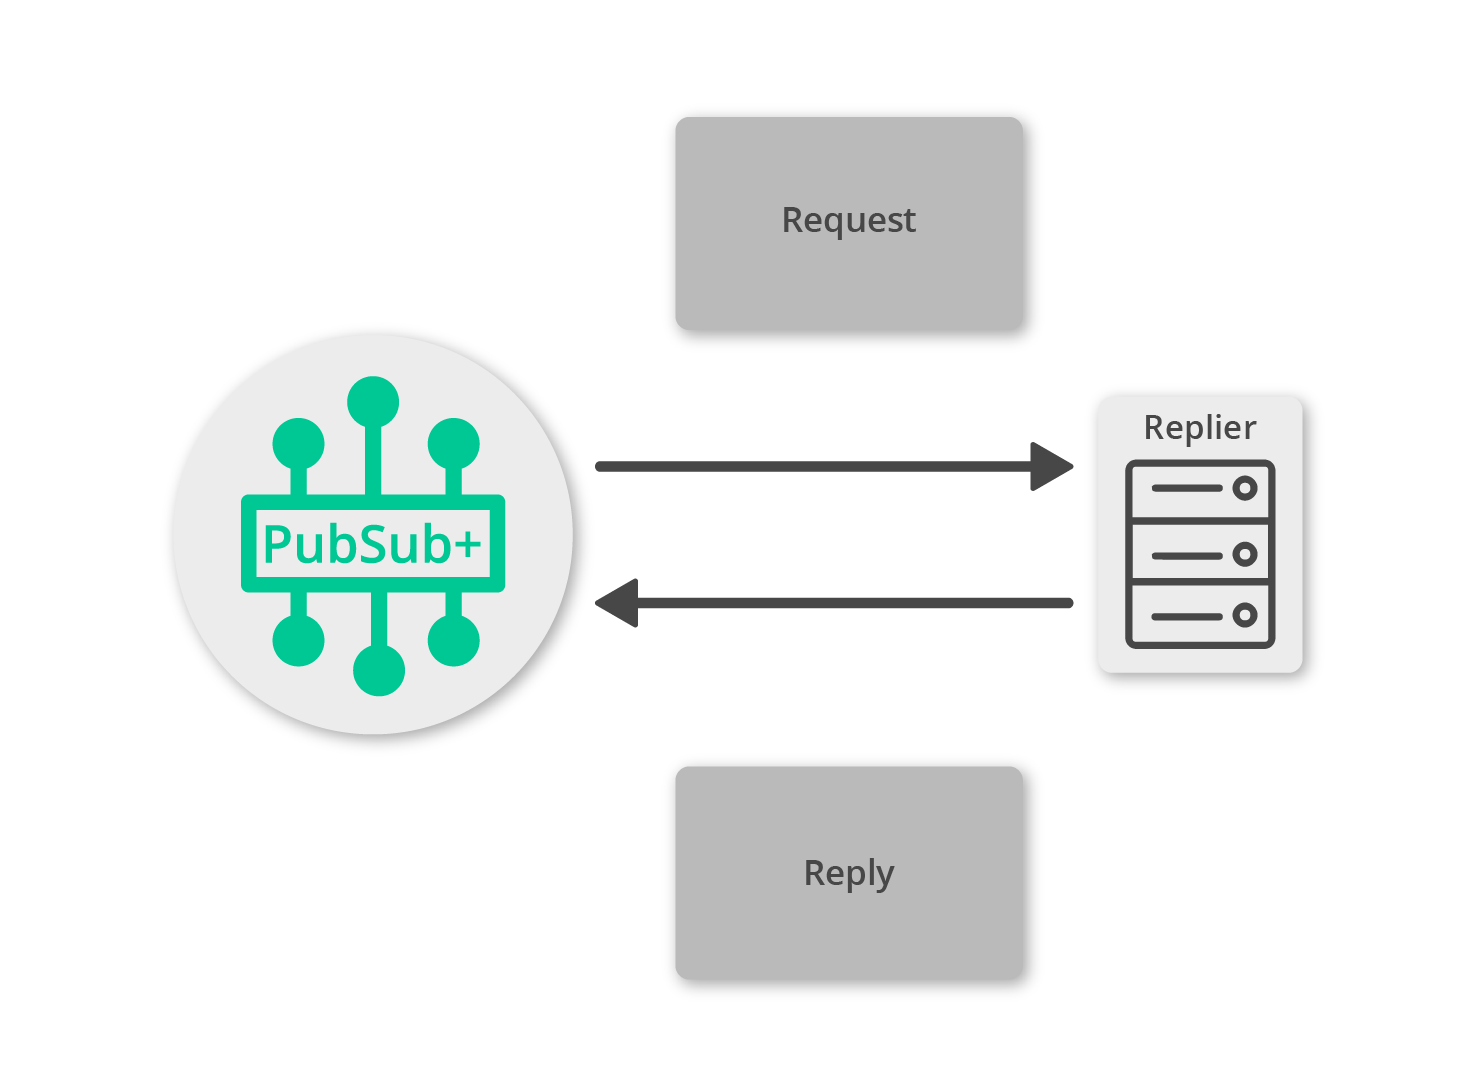
Replying to a request
Now it is time to receive the request and generate an appropriate reply.
Just as with previous tutorials, you still need to connect a session and subscribe to the topics that requests are sent on. The following is an example of such reply.
private void HandleRequestMessage(object source, MessageEventArgs args)
{
    Console.WriteLine("Received request.");
    // Received a request message
    using (IMessage requestMessage = args.Message)
    {
        // Expecting the request content as a binary attachment
        RequestContent = Encoding.ASCII.GetString(requestMessage.BinaryAttachment);
        // Create reply message
        using (IMessage replyMessage = ContextFactory.Instance.CreateMessage())
        {
            // Set the reply content as a binary attachment
            replyMessage.BinaryAttachment = Encoding.ASCII.GetBytes("Sample Reply");
            Console.WriteLine("Sending reply...");
            ReturnCode returnCode = session.SendReply(requestMessage, replyMessage);
            if (returnCode == ReturnCode.SOLCLIENT_OK)
            {
                Console.WriteLine("Sent.");
            }
            else
            {
                Console.WriteLine("Reply failed, return code: {0}", returnCode);

            }
            // finish the program
            waitEventWaitHandle.Set();
        }
    }
}
The HandleRequestMessage is the routine that is passed as a callback to the CreateSession call:
session = context.CreateSession(sessionProps, HandleRequestMessage, null);Receiving the Reply Message
All that’s left is to receive and process the reply message as it is received at the requestor. If you now update your requestor code to match the following you will see each reply printed to the console.
ReturnCode returnCode = session.SendRequest(requestMessage, out replyMessage, timeout);
if (returnCode == ReturnCode.SOLCLIENT_OK)
{
    // Expecting reply as a binary attachment
    Console.WriteLine("Received reply: {0}", Encoding.ASCII.GetString(replyMessage.BinaryAttachment));
}
else
{
    Console.WriteLine("Request failed, return code: {0}", returnCode);
}
Summarizing
The full source code for this example is available in GitHub. If you combine the example source code shown above results in the following source:
Getting the Source
Clone the GitHub repository containing the Solace samples.
git clone https://github.com/SolaceSamples/solace-samples-dotnet
cd solace-samples-dotnet
Building
Build it from Microsoft Visual Studio or command line:
> csc /reference:SolaceSystems.Solclient.Messaging_64.dll /optimize /out:BasicReplier.exe BasicReplier.cs
> csc /reference:SolaceSystems.Solclient.Messaging_64.dll /optimize /out:BasicRequestor.exe BasicRequestor.cs
You need SolaceSystems.Solclient.Messaging_64.dll (or SolaceSystems.Solclient.Messaging.dll) at compile and runtime time and libsolclient.dll at runtime in the same directory where your source and executables are.
Both DLLs are part of the Solace C#/.NET API distribution and located in solclient-dotnet\lib directory of that distribution.
Running the Sample
First start the BasicReplier.exe so that it is up and listening for requests. Then you can use the BasicRequestor.exe sample to send requests and receive replies. Pass your Solace messaging router connection properties as parameters.
$ ./BasicReplier <host> <username>@<vpnname> <password>
Connecting as <username>@<vpnname> on <host>...
Session successfully connected.
Waiting for a request to come in...
Received request.
Request content: Sample Request
Sending reply...
Sent.
Finished.
$ ./BasicRequestor <host> <username>@<vpnname> <password>
Connecting as <username>@<vpnname> on <host>...
Session successfully connected.
Sending request...
Received reply: Sample Reply
Finished.With that you now know how to successfully implement the request-reply message exchange pattern using Direct messages.